
Matching 45 Degree Seams
DISCLOSURE: THIS POST MAY CONTAIN AFFILIATE LINKS, MEANING I GET A COMMISSION IF YOU DECIDE TO MAKE A PURCHASE THROUGH MY LINKS, AT NO COST TO YOU. PLEASE READ MY TERMS OF USE POLICY FOR MORE INFO.
Just when life seems to be going smoothly. When everything is working out. You finished your last project in time for that Baby Shower and you feel on top of the world. That’s when it happens. All the sudden, without warning, you’re forced to learn a new skill.
For someone who loves to grow her skill set I get incredibly short tempered with I run into a quilting method I am not familiar with and must stop the flow of my project and LEARN SOMETHING.
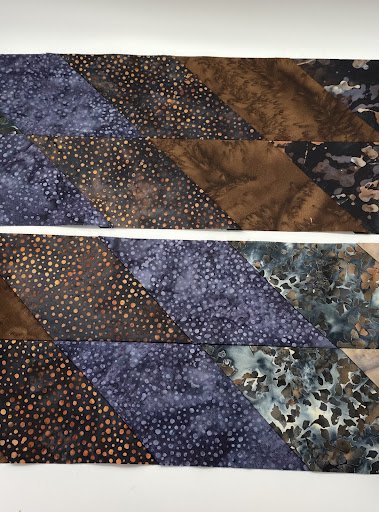
I found myself in this situation last weekend while taking a class on the Lone Star Quilt. This is a quilt I have always wanted to make and was extremely excited for the class. The class was fantastic, and all was well until we came to matching the diamonds which were at a 45-degree angles.
Long story short, I got down-right pouty when everyone else’s diamonds seemed to match up and mine were 1/8” apart. But I got over my shit attitude and learned to match a 45-degree seam.
Step one:
Lay out the strips that you are sewing together horizontally (one above the other).
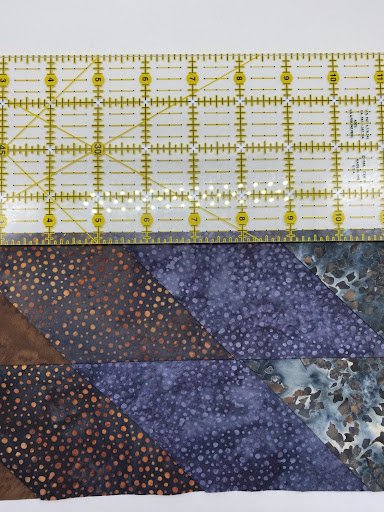
Step 2:
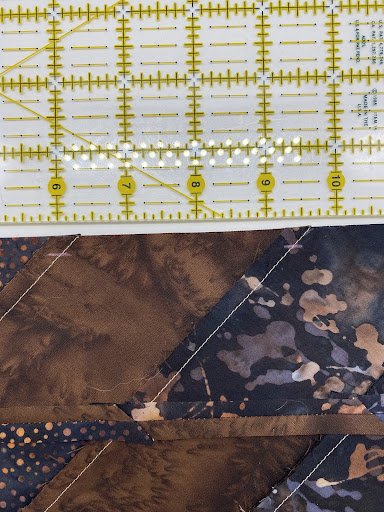
One the top edge of the lower strip, lay a rule lengthwise measuring 1/4” onto the strip. Note: keep the 1/4” ruler line slightly above the material to ensure your marking goes directly ¼” from the edge of the fabric
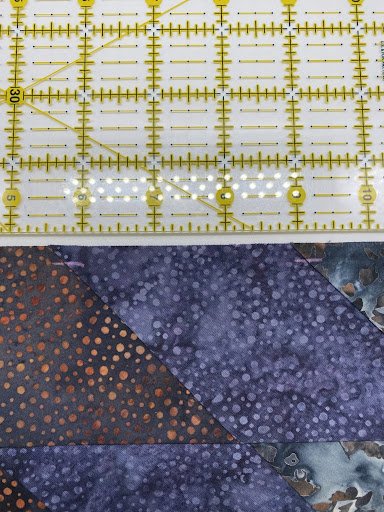
Step 3:
Using a chalk marker (I prefer the mechanical chalk pens by Bohin) mark a small line across each seam on the front of the lower strip of diamonds.
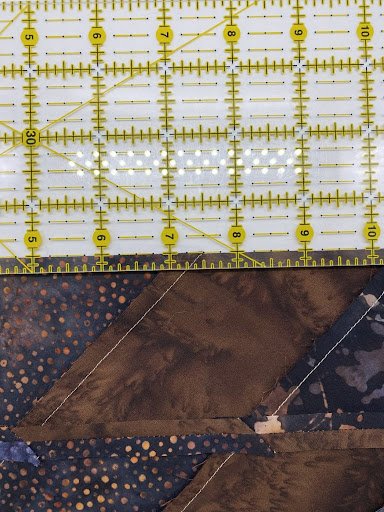
Step 4:
Flip the top strip of diamonds onto the lower strip so right sides are together. Lay the ruler lengthwise and mark ¼” from the edge on each seam of the wrong side of the fabric.
Step 5:
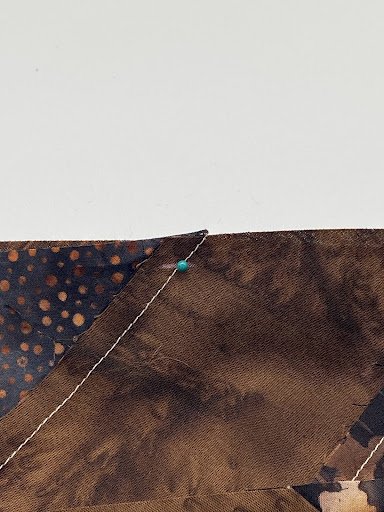
At the first intersection of diamonds take your upper strip and stick a pin directly into the seam at your chalk mark. Pin will go from back of fabric to front.


Next put the pin in the front side of the bottom strip directly into the seam at your chalk mark. Important that your pins enter and exit directly on the seam line.

Step 6:
Pull the pin all the way through so the head is flush on the top strip. This will ensure the fabrics are lined up. Pinching the fabric to keep it from moving, pull the pin halfway out and secure in the fabric.

Step 7:
Ensure you are hitting your marked ¼” lines while sewing out your seam. An accurate ¼” seam allowance will produce the perfect matched seam every time.
Note: I found pressing my seams open prevented the fabric from stretching.
The beginning of this project was a STRUGGLE for me. I am easy-going on myself when it comes to quilting but I have no patience for seams that do not match. Once I had gotten the process for matching the 45-degree seams down, sewing the diamonds for the Lone Star was a breeze and went very quickly.
Do not let this quilt pattern scare you. If I can do it sew can you 😊
